AwesomeWM Guide - Bar
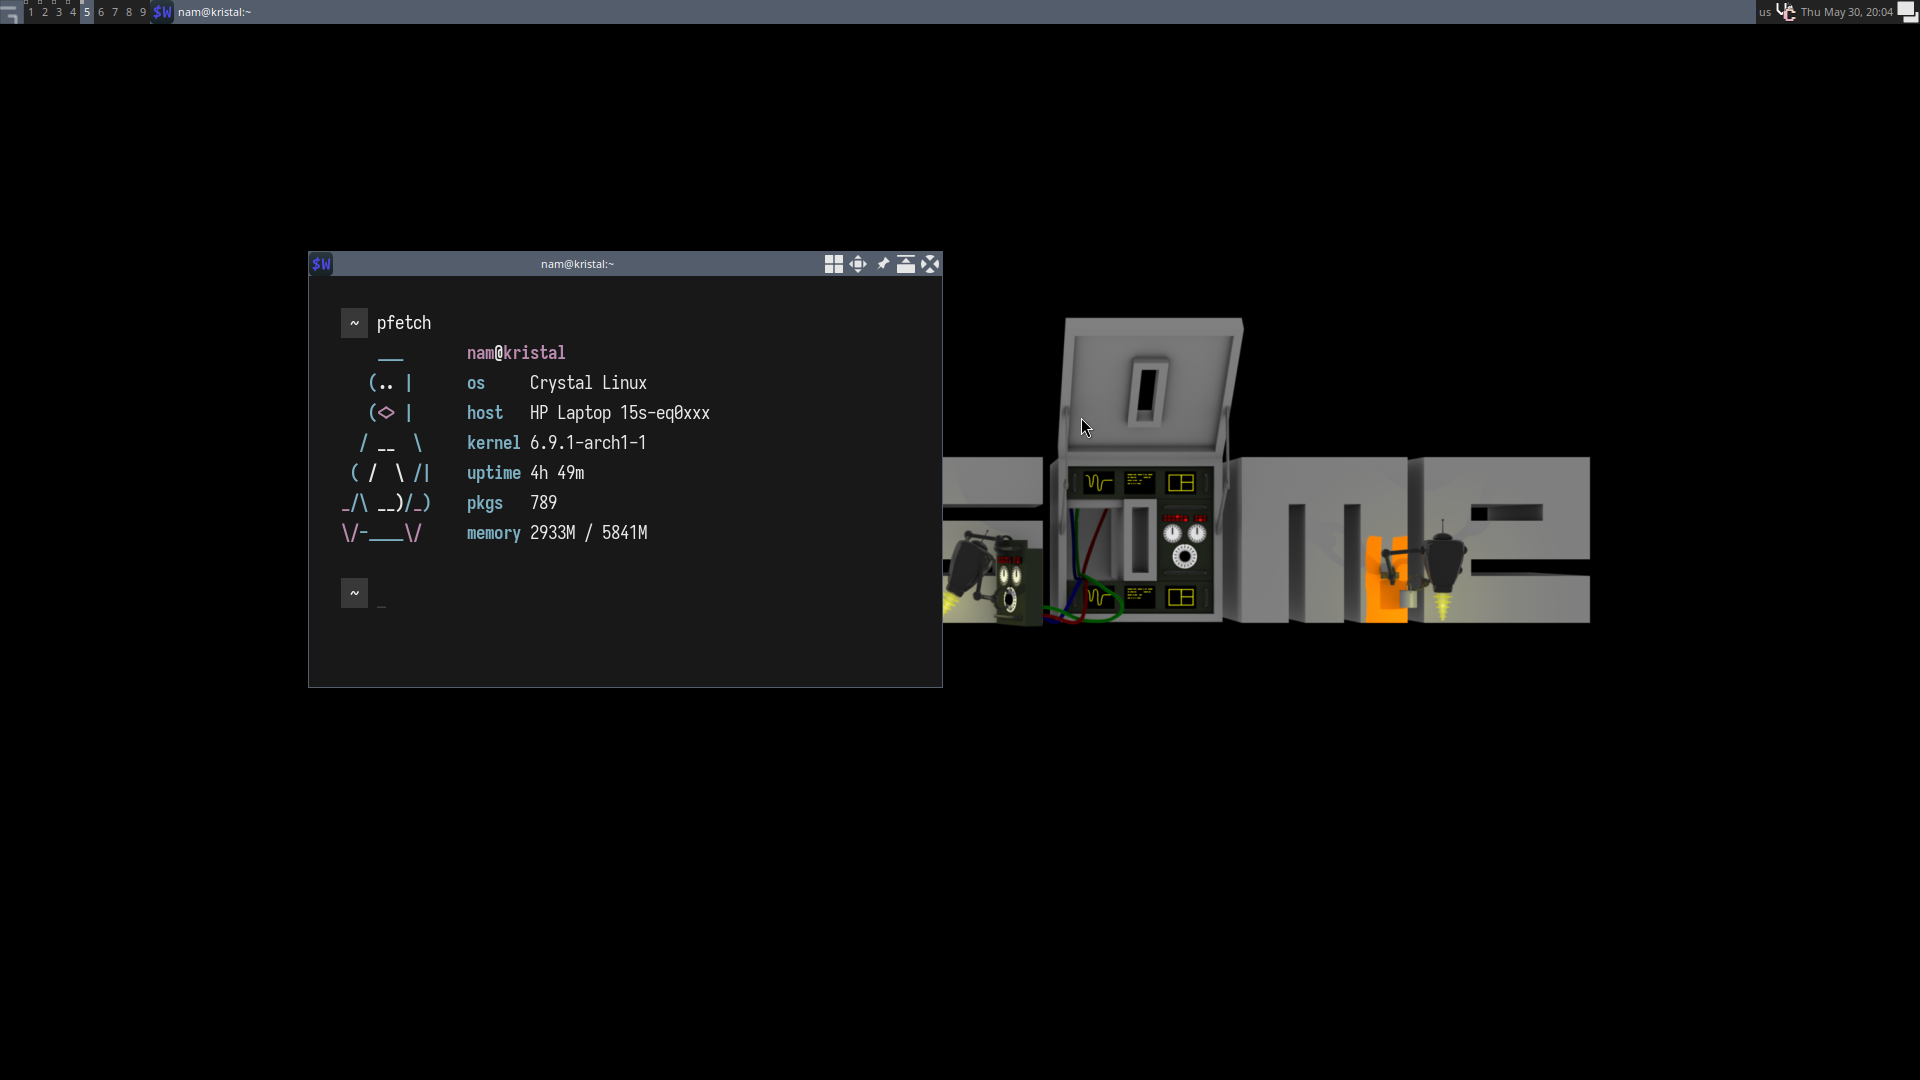
In this post, we will turn
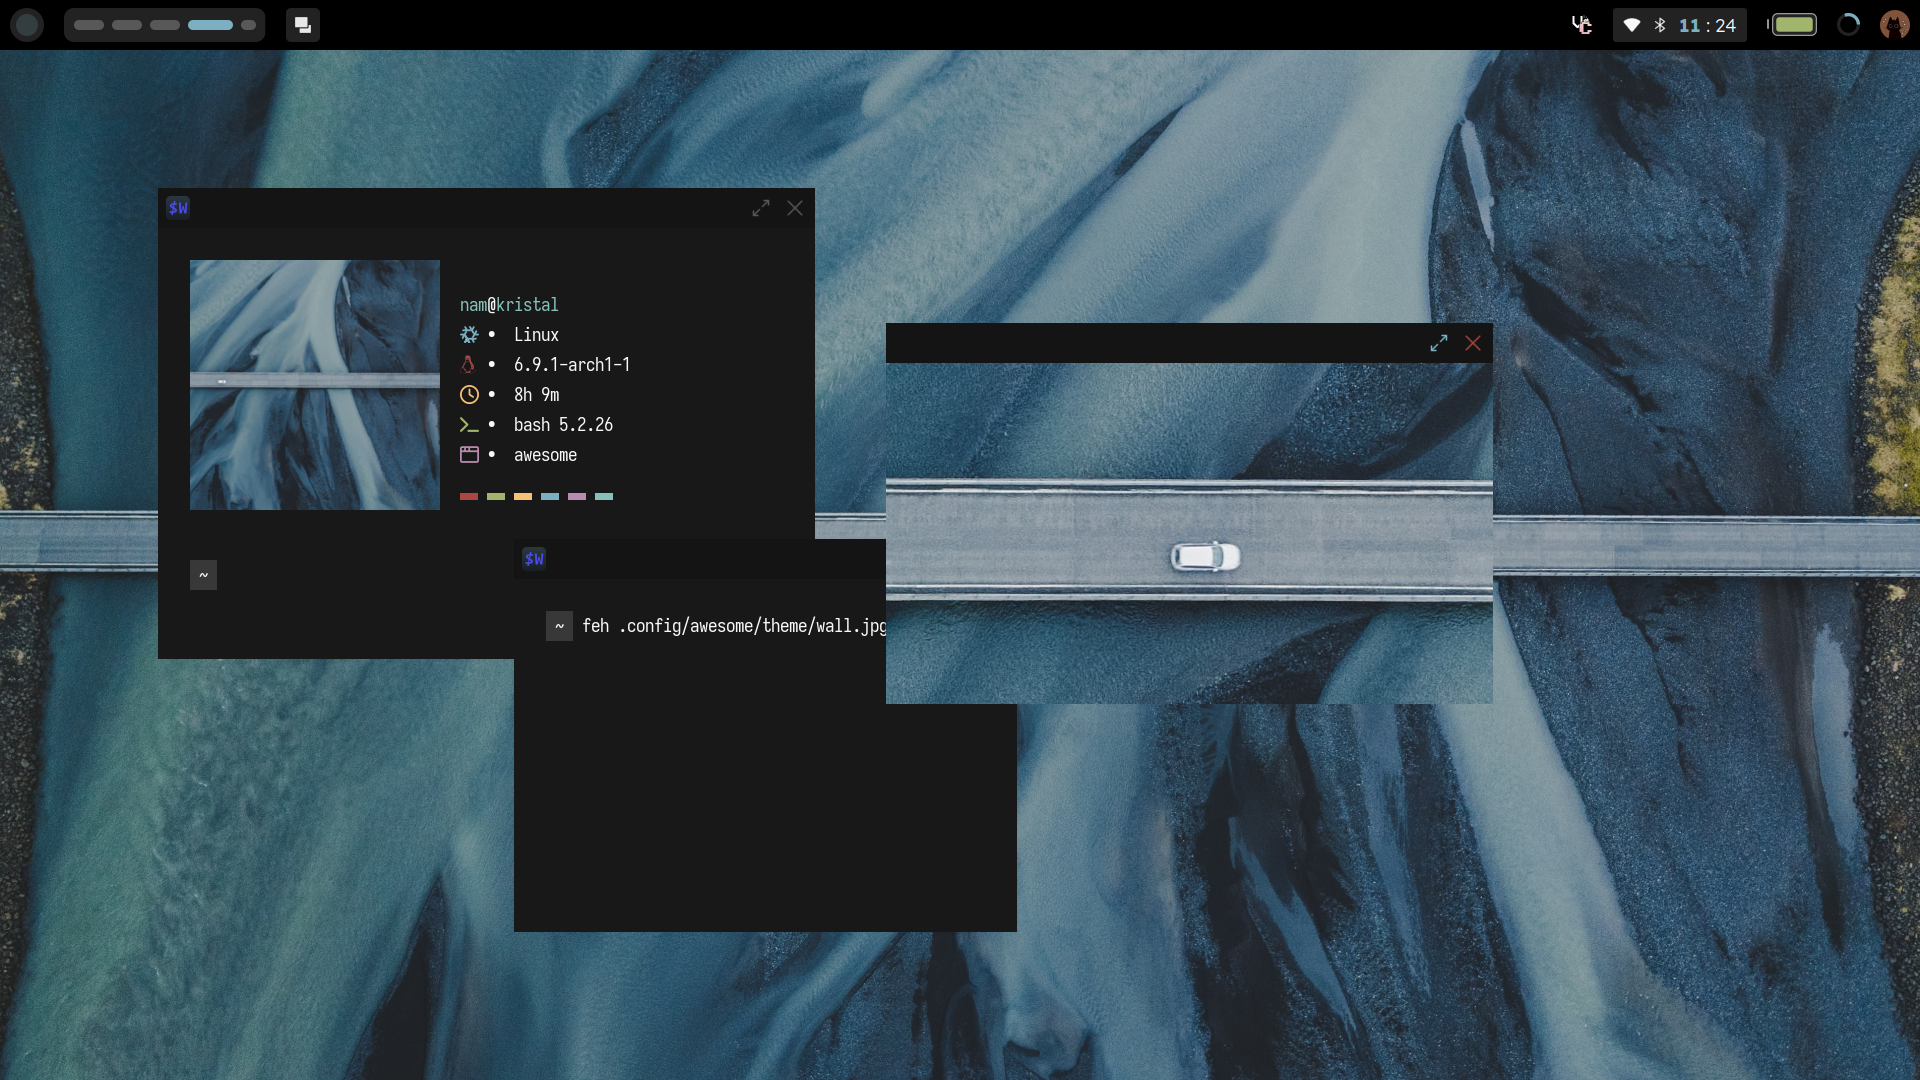
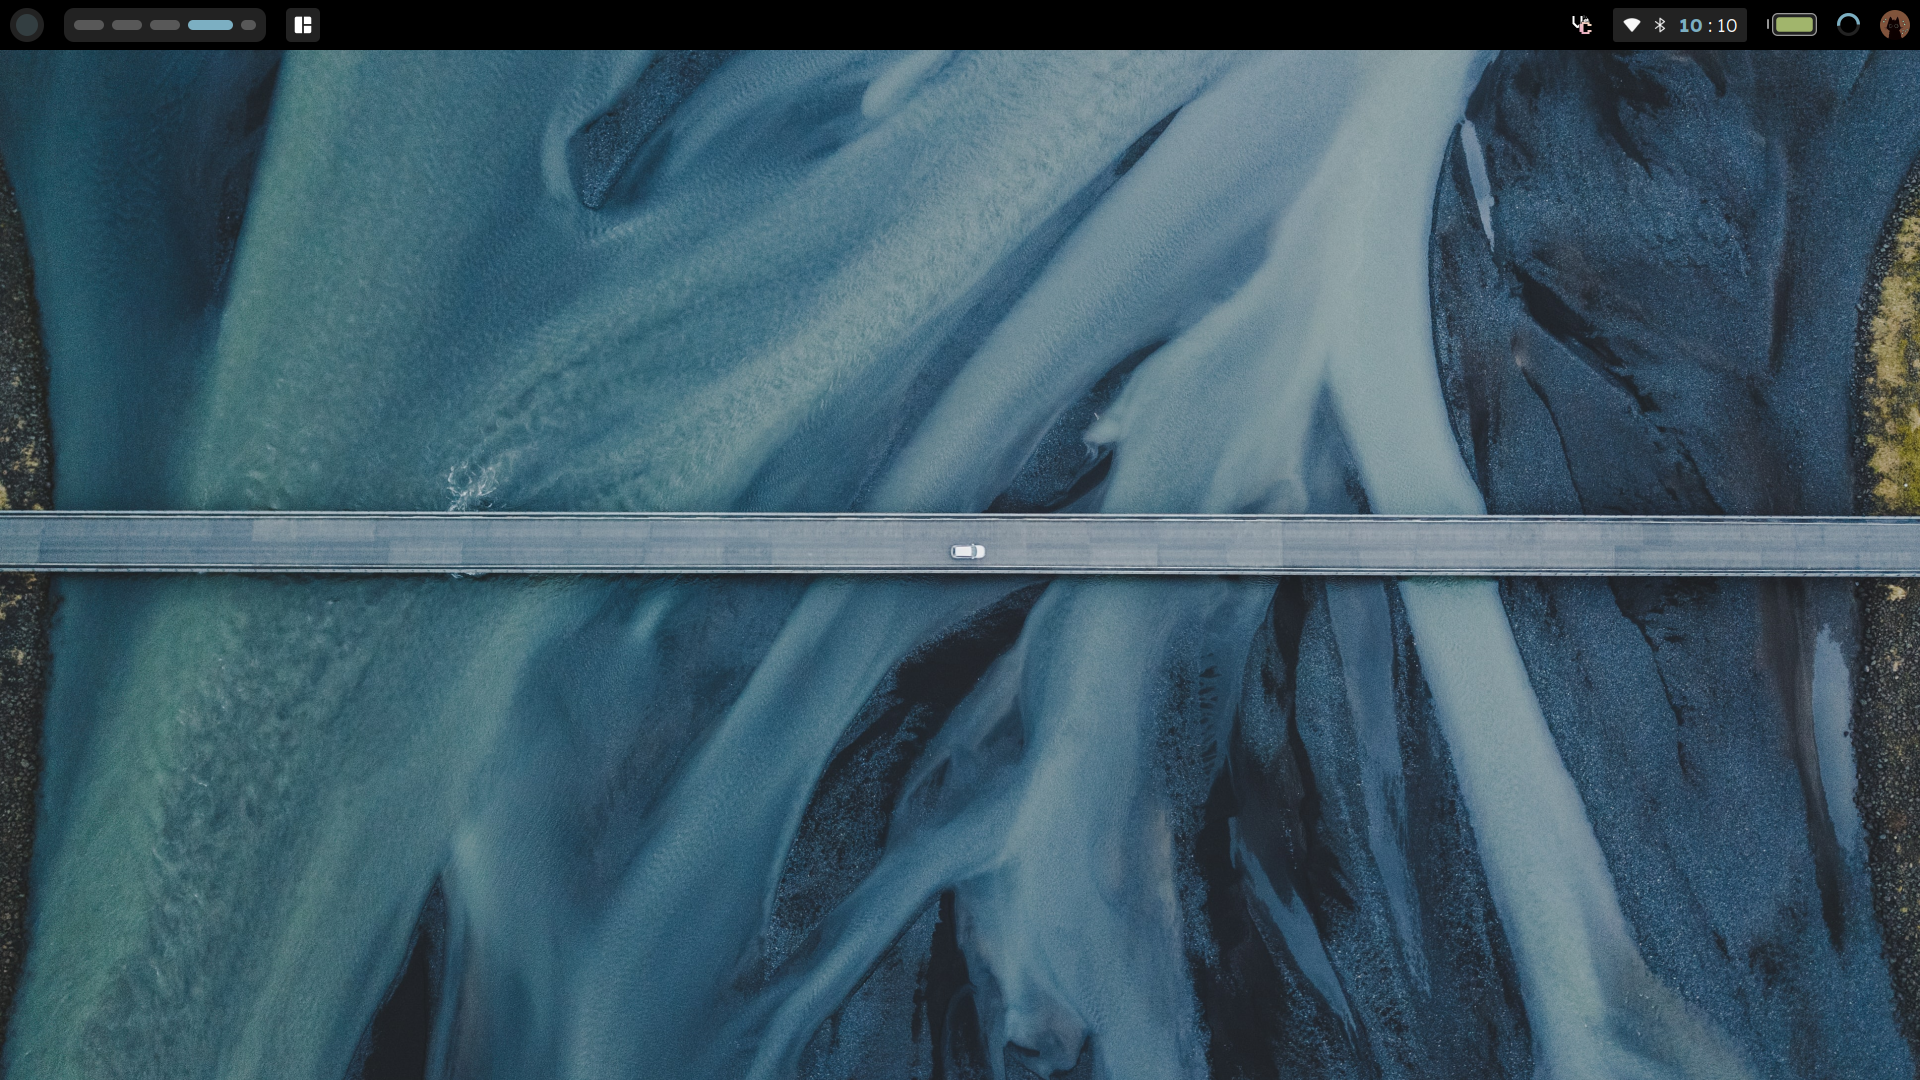
into this
This guide will mostly about awm’s widgeting system, if you wanna learn about other things about awm, check out this guide by Stella. I am assuming you are using awesome-git and know thebasics of lua. The code for this can be found in this repo. Let’s just start with no bullshit.
Quick Setup
- Ensure you are using awesome-git.
- First remove the default rc.lua and replace it with this modularized config.
- Add your wallpaper to theme/wall.jpg
- Edit the contents of theme/init.lua
-- Theme handling librarylocal beautiful = require('beautiful')-- Standard awesome librarylocal gears     = require('gears')
local theme = {}theme.wallpaper = gears.filesystem.get_configuration_dir() .. 'theme/wall.jpg'
-- Themes define colors, icons, font and wallpapers.beautiful.init(gears.filesystem.get_themes_dir() .. 'default/theme.lua')beautiful.init(theme)- Add in colors, fonts and some gaps
local theme       = {}
theme.sans        = "Lexend"theme.font        = "Lexend"theme.mono        = "Iosevka Nerd Font"
theme.bg          = "#181818"theme.altbg       = "#212121"theme.fg          = "#f8f8f8"theme.comment     = "#585858"theme.red         = "#ab4642"theme.blue        = "#7cafc2"theme.green       = "#a1b56c"theme.yellow      = "#f7ca88"theme.magenta     = "#ba8baf"theme.cyan        = "#86c1b9"
theme.useless_gap = 5- Create a helpers.lua file
local beautiful      = require("beautiful")local gears          = require("gears")
local helpers        = {}
helpers.rrect        = function(radius)  radius = radius or dpi(4)  return function(cr, width, height)    gears.shape.rounded_rect(cr, width, height, radius)  endend
helpers.addHover     = function(element, bg, hbg)  element:connect_signal('mouse::enter', function(self)    self.bg = hbg  end)  element:connect_signal('mouse::leave', function(self)    self.bg = bg  end)end
helpers.colorizeText = function(txt, fg)  if fg == "" then    fg = "#ffffff"  end
  return "<span foreground='" .. fg .. "'>" .. txt .. "</span>"end
return helpers
And now if you will restart awm, you will get something bland and tiny like this
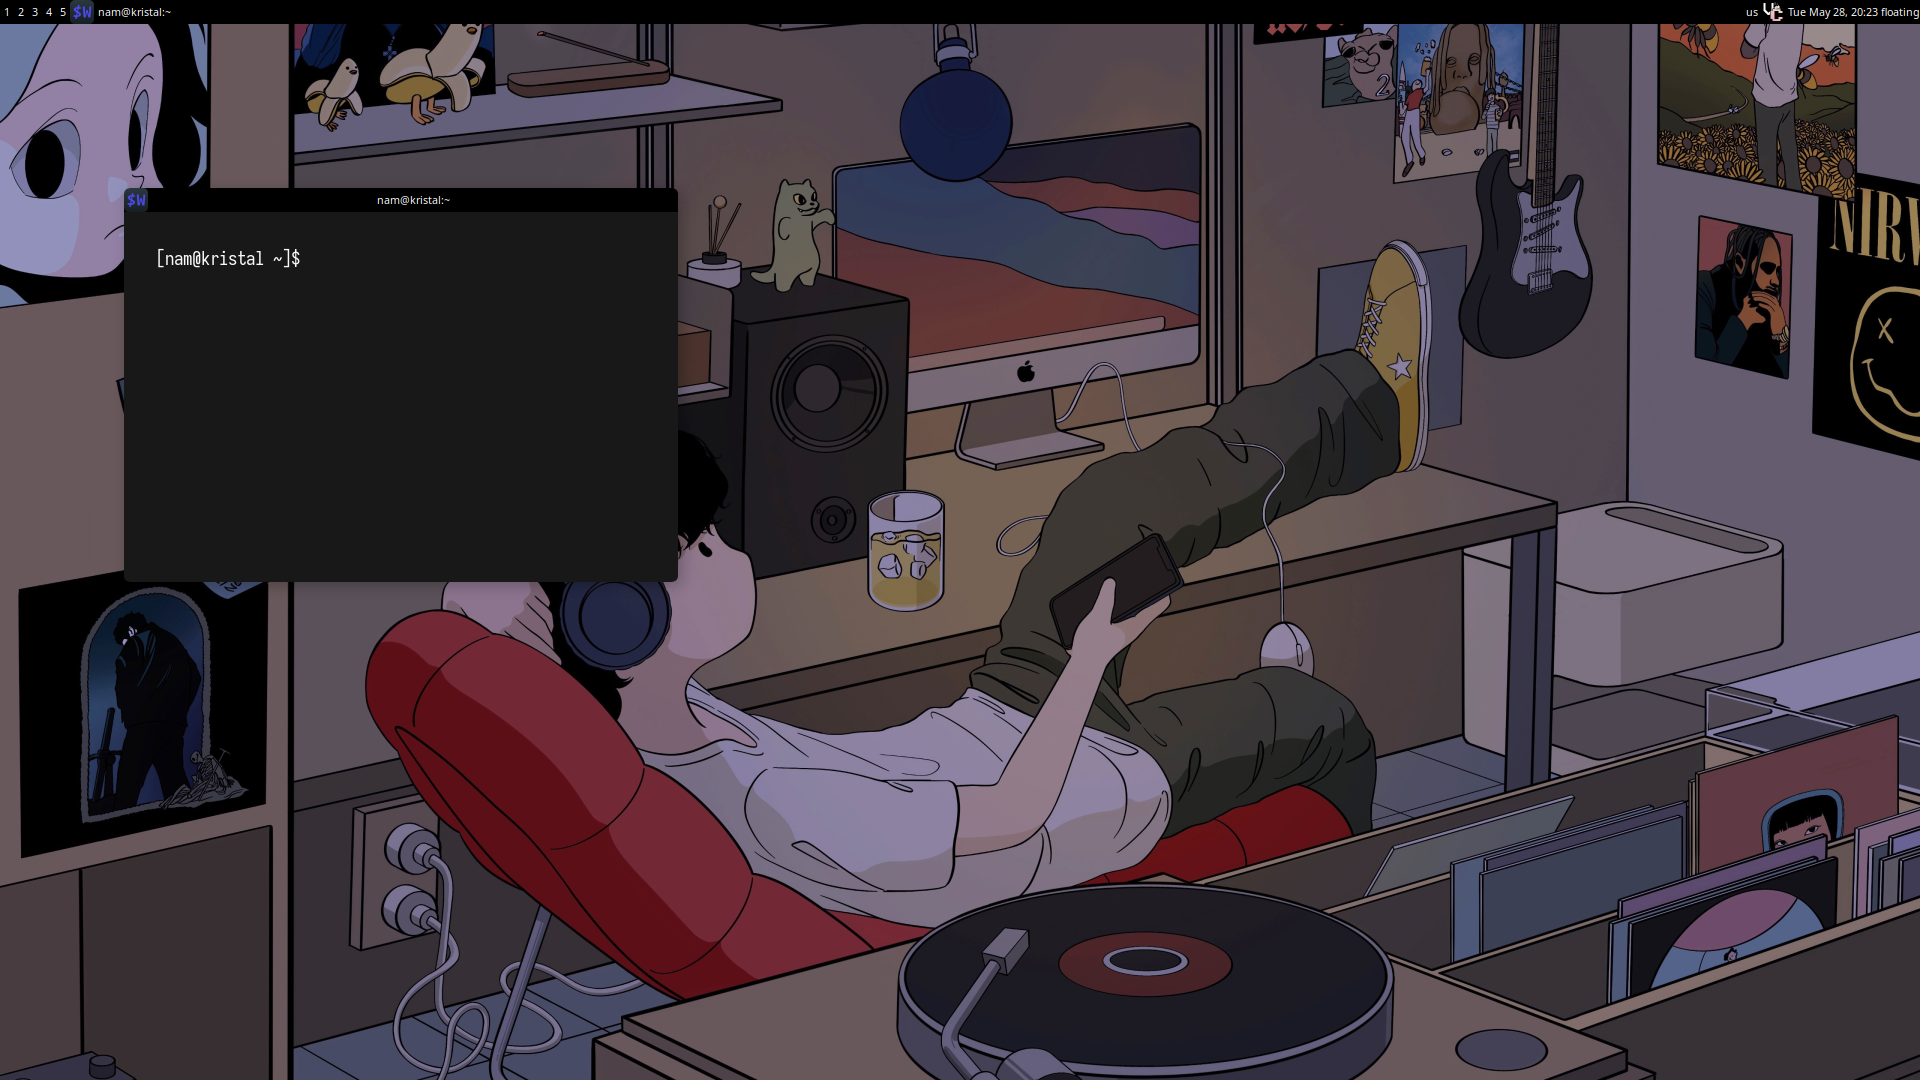
Looks bad, but a perfect canvas for us to work on.
Pro tip: Testing
If you do not want to restart your wm everytime to test a change, you can use Xephyr to test it. According to the arch wiki: ‘Xephyr is a nested X server that runs as an X application.‘
$ Xephyr -br -ac -noreset -screen 800x600 :1$ DISPLAY=:1 awesomeThe Bar
First lets remove everything from bar and delete every file in ui/wibar/module except ui/wibar/module/init.lua
 --  ...   s.mypromptbox = awful.widget.prompt() -- Create a promptbox.
   -- Create the wibox   s.mywibox = awful.wibar({      position = 'top',      height   = 50,    -- width    = 1920, -- it will automatically strech      screen   = s,      widget   = {         layout = wibox.layout.align.horizontal,         {          widget = wibox.container.place,          valign = "center",         },         nil,         {          widget = wibox.container.place,          valign = "center",         },         {            layout = wibox.layout.fixed.horizontal,            module.launcher(),            module.taglist(s),            s.mypromptbox         },         -- Middle widgets.         module.tasklist(s),         -- Right widgets.         {            layout = wibox.layout.fixed.horizontal,            awful.widget.keyboardlayout(), -- Keyboard map indicator and switcher.            wibox.widget.systray(),            wibox.widget.textclock(), -- Create a textclock widget.            module.layoutbox(s)         }      }   })
wibox.container.place is used to set the valign and halign properties on widgets. halign can be set to left, center and right while valign can be set to top, bottom and center.
wibox.layout.align takes in exactly 3 elements, first for the left, then the center and then the right, as we do not want anything in the center of the bar, we will put nil there.
We have also increased that height of the r to 50px.
-- Return a table containing all r modules, with a name attached-- to each.return { launcher = require(... .. '.launcher'), taglist = require(... .. '.taglist'), tasklist = require(... .. '.tasklist'), layoutbox = require(... .. '.layoutbox')}Right Side
First of all, let’s create a module for showing time in the bar. Let us create the file
local wibox     = require("wibox")local beautiful = require("beautiful")local helpers   = require("helpers")
return wibox.widget {  {    font = beautiful.sans .. '12',    format = "%I : %M",    widget = wibox.widget.textclock  },  widget = wibox.container.place,  valign = "center"}
Awm has a built in widget called wibox.widget.textclock to display the time. Now:
return { time = require(... .. ".time")}And the last step to add it to the bar.
widget = { layout = wibox.layout.align.horizontal, { widget = wibox.container.place, valign = "center", }, nil, { { { module.time, spacing = 10, layout = wibox.layout.fixed.horizontal, }, widget = wibox.container.place, valign = "center", }, widget = wibox.container.margin, margins = { top = 3, bottom = 3, left = 15, right = 15, }, }, }As I will have multiple modules on the right side of my bar, I have wrapped it in a wibox.layout.fixed.horizontal, which is essentially a horizontal line, also I have wrapped the entire right section in a wibox.container.margin to the section some margin.
Test/Restart awm to see a tiny clock on the right.
Making the clock look better.
Well we got our clock, but it still looks a bit boring. So let us make the hour bolder and blue in color and also give it a background color as well.
For this we will use the helpers.colorizeText() from our helper functions. It takes the text and a color.
local time = wibox.widget { { font = beautiful.sans .. " Light 14", format = "<b>" .. helpers.colorizeText("%I", beautiful.blue) .. "</b>" .. " : " .. helpers.colorizeText("%M", beautiful.fg), widget = wibox.widget.textclock }, widget = wibox.container.place, valign = "center"}format in textclock and markup in textbox allows the use of Pango markup so, <b> and < /b> gives bold text.
Now modifying what we return we get:
return wibox.widget { { { time, spacing = 15, layout = wibox.layout.fixed.horizontal, }, widget = wibox.container.margin, margins = { top = 5, left = 10, bottom = 5, right = 10, }, }, shape = helpers.rrect(3), widget = wibox.container.background, bg = beautiful.altbg,}This is just a background widget, which uses one of our helper functions to give a suble rounded rectangle. Inside this background widget, we have a container for margin, which is 5, and inside the margin container their is the time which is placed in a horizontal layout.
Wifi and Bluetooth Symbols
First, install svg icons of wifi connected, disconnected and bluetooh connected and disconnected from any icon set you want. My choice is Phosphor Icons. Now we will define them in the theme/init.lua file and also recolour them to white.
theme.wallpaper         = gears.filesystem.get_configuration_dir() .. 'theme/wall.jpg'
theme.iconpath          = gears.filesystem.get_configuration_dir() .. "theme/icons/"
theme.wifi_connected    = gears.color.recolor_image(theme.iconpath .. "wifi-connected.svg", theme.fg)theme.wifi_disconnected = gears.color.recolor_image(theme.iconpath .. "wifi-disconnected.svg", theme.comment)
theme.bluetooth_on      = gears.color.recolor_image(theme.iconpath .. "bluetooth-on.svg", theme.fg)theme.bluetooth_off     = gears.color.recolor_image(theme.iconpath .. "bluetooth-off.svg", theme.comment)
-- Themes define colors, icons, font and wallpapers.beautiful.init(theme)
Before using these images, we need some sort of signal to indicate whether wifi/blueooth is on or not. Here is how to make one for wifi.
local awful = require('awful')local gears = require('gears')
-- Network Fetching and Signal Emitting---------------------------------------local function emit_network_status()  awful.spawn.easy_async_with_shell(    "bash -c 'nmcli networking connectivity check'", function(stdout)      local status = not stdout:match("none") -- boolean      awesome.emit_signal('signal::network', status)    end)end
-- Refreshing-------------gears.timer {  timeout   = 2,  call_now  = true,  autostart = true,  callback  = function()    emit_network_status()  end}
The code above is fairly easy to understand, every 2 seconds, a function is called which executes the following process bash -c 'nmcli networking connectivity check'. If the output of the command does not has none in it, it emits a signal called signal::network with the value true, if the output of the command has none in it, the value is false.
Now lets make one for bluetooth
local awful = require('awful')local gears = require('gears')
local function emit_bluetooth_status()  awful.spawn.easy_async_with_shell(    "bash -c 'bluetoothctl show | grep -i powered:'", function(stdout)      local status = stdout:match("yes") -- boolean      awesome.emit_signal('signal::bluetooth', status)    end)end
gears.timer {  timeout   = 2,  call_now  = true,  autostart = true,  callback  = function()    emit_bluetooth_status()  end}
And now to call them in the main file
-- Allows all signals to be connected and/or emitted.return { client = require(... .. '.client'), -- NOTE: The `tag` file must be loaded before the `screen` one so that -- the correct layouts defined in `config.user` are appended to the tags -- upon creation. tag = require(... .. '.tag'), screen = require(... .. '.screen'), wifi = require(... .. '.wifi'), bluetooth = require(... .. '.bluetooth'),}We can now finally start creating the actual widgets. Let’s create two image boxes
local wifi      = wibox.widget {  {    forced_height = 18,    forced_width  = 18,    image         = beautiful.wifi_connected,    widget        = wibox.widget.imagebox,    id            = "image",  },  widget = wibox.container.place,  valign = "center",}
local bluetooth = wibox.widget {  {    forced_height = 18,    forced_width  = 18,    image         = beautiful.bluetooth_on,    widget        = wibox.widget.imagebox,    id            = "image",  },  widget = wibox.container.place,  valign = "center",}
You will notice their is an id prop in the imagebox widget in both of them, we will see in the next step as to how to use them to change the image. Now we would like to connect to the signals we just made so to change the image. For that we would use awesome.connect_signal.
awesome.connect_signal("signal::network", function(val)  if val then    wifi:get_children_by_id("image")[1].image = beautiful.wifi_connected  else    wifi:get_children_by_id("image")[1].image = beautiful.wifi_disconnected  endend)
awesome.connect_signal("signal::bluetooth", function(val)  if val then    bluetooth:get_children_by_id("image")[1].image = beautiful.bluetooth_on  else    bluetooth:get_children_by_id("image")[1].image = beautiful.bluetooth_off  endend)
We cannot directly access the imagebox element of wifi/bluetooth, to do that we need to use get_children_by_id(id) which returns an array of all elements with that id.
Progress bars
The next thing we will be making would be a ttery and a volume indicator. Let us create a new file for that called ui/wibar/module/progress.lua and also include it in the module/init.lua file
return { time = require(... .. ".time"), progress = require(... .. ".progress"), }We should also just create a sic progress file and we will add elements in them later.
local wibox = require("wibox")local helpers = require("helpers")local beautiful = require("beautiful")local awful = require("awful")
return wibox.widget {  {    spacing = 20,    layout = wibox.layout.fixed.horizontal,  },  widget = wibox.container.place,  valign = "center",}
and then also add this to the bar.
-- ... { module.time, module.progress, spacing = 10, layout = wibox.layout.fixed.horizontal, }, -- ...Services for Battery and Volume
For battery, we will read the file /sys/class/power_supply/BAT0/capacity to get the charge of laptop and /sys/class/power_supply/BAT0/status to get the status of charging of laptop. And then we refresh it like the other signals with gears.timer.
local battery_script ="bash -c 'echo $(cat /sys/class/power_supply/BAT0/capacity) echo $(cat /sys/class/power_supply/BAT0/status)'"
local function battery_emit()  awful.spawn.easy_async_with_shell(    ttery_script, function(stdout)      local level     = string.match(stdout:match('(%d+)'), '(%d+)')      local level_int = tonumber(level)                 -- integer      local power     = not stdout:match('Discharging') -- boolean      awesome.emit_signal('signal::ttery', level_int, power)    end)end
-- Refreshing-------------gears.timer {  timeout   = 20,  call_now  = true,  autostart = true,  callback  = function()    battery_emit()  end}
For volume, I will be using the program pamixer to get the level. You are free to use your own program.
local awful = require('awful')local gears = require('gears')
local function volume_emit()  awful.spawn.easy_async_with_shell(    "sh -c 'pamixer --get-volume'", function(stdout)      local volume_int = tonumber(stdout)               -- integer      awesome.emit_signal('signal::volume', volume_int) -- integer    end)end
gears.timer {  timeout   = 1,  call_now  = true,  autostart = true,  callback  = function()    volume_emit()  end}
Finally, inlclude these in your init.lua
-- ... wifi = require(... .. '.wifi'), bluetooth = require(... .. '.bluetooth'), battery = require(... .. '.battery'), volume = require(... .. '.volume'),}Using the services
For battery we will use the in builtin widget wibox.widget.progressbar. If we closely see the shape of your battery, it is actually a horizontal layout with progress as the battery and a little stick as the bulb. To recreate that in awm, we can do
local battery = wibox.widget {  {    {      bg = beautiful.fg .. "99",      forced_height = 10,      forced_width = 2,      shape = helpers.rrect(10),      widget = wibox.container.background,    },    widget = wibox.container.place,    valign = "center",  },  {    {      max_value        = 100,      value            = 69,      id               = "prog",      forced_height    = 22,      forced_width     = 45,      paddings         = 3,      border_color     = beautiful.fg .. "99",      background_color = beautiful.altbg,      bar_shape        = helpers.rrect(3),      color            = beautiful.green,      border_width     = 1.25,      shape            = helpers.rrect(5),      widget           = wibox.widget.progressbar    },    direction = 'south',    layout    = wibox.container.rotate,
  },  spacing = 3,  layout = wibox.layout.fixed.horizontal}awesome.connect_signal("signal::battery", function(value)  local b = battery:get_children_by_id("prog")[1]  b.value = valueend)
At this point, I think the code is self explantory. The progress bar on default goes from left to right, to make it go right to left, we use wibox.container.rotate and set the direction to “south”, whihch essentially rotates it by 180 degrees.
For volume, we will be using circular progress bars. This is also an inbuilt widget in awesome called arcchart, here is how we will implement it.
local volume = wibox.widget { { max_value = 100, value = 69, id = "prog", forced_height = 23, forced_width = 23, bg = beautiful.altbg, bar_shape = helpers.rrect(3), colors = { beautiful.blue }, border_width = 0, thickness = 3.2, shape = helpers.rrect(5), widget = wibox.container.arcchart }, widget = wibox.container.place, valign = "center",}awesome.connect_signal("signal::volume", function(value) local v = volume:get_children_by_id("prog")[1] v.value = valueend)And now let us add them into the widget we return
return wibox.widget { { battery, volume, spacing = 20, layout = wibox.layout.fixed.horizontal, }, widget = wibox.container.place, valign = "center",}Quick Profile Picture
Also let us add a profile picture at the end of our bar. Since we may use it multiple times on many widgets, it is best to define it in the theme itself.
theme.wallpaper         = gears.filesystem.get_configuration_dir() .. 'theme/wall.jpg'theme.pfp               = gears.filesystem.get_configuration_dir() .. 'theme/pfp.jpeg'
theme.iconpath          = gears.filesystem.get_configuration_dir() .. "theme/icons/"
Let us define the widget at ui/wibar/module/profile.lua. Here instead of shape,we will be using clip_shape to make our images rounded.
local wibox = require("wibox")local helpers = require("helpers")local beautiful = require("beautiful")

return wibox.widget {  {    forced_height = 30,    forced_width  = 30,    image         = beautiful.pfp,    clip_shape    = helpers.rrect(100),    widget        = wibox.widget.imagebox,  },  widget = wibox.container.place,  valign = "center",}
I will leave it as task for you to add it to the end of the bar. Now lets add a systray to wrap up the right side of our bar.
local wibox = require("wibox")return wibox.widget { { base_size = 22, widget = wibox.widget.systray, }, widget = wibox.container.place, valign = "center",}Yup, that is basically it, it is that easy to create a systray. And from now I will leave it upto you to add these modules into the bar.
This is how out bar looks right now.
Left Side
Launcher Button
Lets create a launcher that can be later used to open the appmenu, dashboard, whatever you want. It is basically circle in a circle, To create it
local wibox = require("wibox")local helpers = require("helpers")local beautiful = require("beautiful")
return wibox.widget {  {    {      forced_height = 22,      forced_width = 22,      shape = helpers.rrect(100),      widget = wibox.container.background,      bg = beautiful.blue .. '33'    },    widget = wibox.container.margin,    margins = 6,  },  shape = helpers.rrect(100),  widget = wibox.container.background,  bg = beautiful.altbg}
Be Sure to add it to the LEFT SIDE of the bar.
Taglist
First configure the tags in config/user.lua, I’m going to numbers 5 tags. Clone this folder from my repo called mods/animation in module/animation. It is going to help up with animations. The taglist uses some colors from our theme/init.lua to color the taglist. As we do not need text, we will only set the background colors
-- ...theme.taglist_bg_focus = theme.bluetheme.taglist_bg_empty = theme.commenttheme.taglist_bg_occupied = theme.commenttheme.taglist_bg_urgent = theme.red-- ...How the animation module work?
local animation = require("module.animation")
-- making a new animationlocal anim = animation:new({  duration = 0.15, -- how long the animation should be  easing = animation.easing.linear, -- timing function, see module/animation/tween.lua  -- what do to on update  update = function(_, pos)    print(pos)    some_random_element.forced_width = pos -- this animation changed the width of some element  end,})
-- to make an animation workanim:set(100) -- Make the width 100
anim:set(30) -- make it 30
Now let us actually create the taglist. The file will return a function that takes in screen as a parameter.
local awful = require("awful")local wibox = require("wibox")local gears = require("gears")local helpers = require("helpers")local animation = require("module.animation")local beautiful = require("beautiful")return function(s)  local taglist = awful.widget.taglist {
    -- THIS IS THE LAYOUT OF ALL TAGS, YOU CAN SET IT TO    -- WHATEVER YOU WANT, HORIZONTAL, VERTICAL, GRID    layout          = {      spacing = 8,      layout = wibox.layout.fixed.horizontal,    },    -- THIS IS THE SHAPE OF EACH INDIVIDUAL TAG    style           = {      shape = helpers.rrect(9)    },    screen          = s,    filter          = awful.widget.taglist.filter.all,    -- ADDING CLICK EVENTS    -- LEFT CLICK GOES TO THE TAG    buttons         = {      awful.button({}, 1, function(t) t:view_only() end),    },
    -- THE ACTUAL WIDGET FOR EACH TAG    -- THE 'background_role' USES THE BACKGROUND COLOR WE JUST SPECIFIED IN THEME/INIT.LUA    widget_template = {      {        valign        = 'center',        id            = 'background_role',        shape         = helpers.rrect(1),        widget        = wibox.container.background,        forced_width  = 18,        forced_height = 10,      },      widget = wibox.container.place,      -- THIS RUNS WHEN 1 TIME AT THE START      create_callback = function(self, tag)        -- CREATING A NEW ANIMATION THAT CHANGES THE WIDTH        self.taganim = animation:new({          duration = 0.15,          easing = animation.easing.linear,          update = function(_, pos)            self:get_children_by_id('background_role')[1].forced_width = pos          end,        })        self.update = function()          if tag.selected then            self.taganim:set(45)          elseif #tag:clients() > 0 then            self.taganim:set(30)          else            self.taganim:set(15)          end        end
        self.update()      end,      -- FUNCTION TO RUN ON EVERY TIME THE TAG CHANGES      update_callback = function(self)        self.update()      end,    }  }  -- WRAPPING THE TAGLIST IN A BOX  local widget = {    {      taglist,      widget = wibox.container.margin,      left = 10,      right = 10,      top = 3,      bottom = 3,    },    shape = helpers.rrect(10),    widget = wibox.container.background,    bg = beautiful.altbg,  }
  return widgetend
Now you know a lot of things already, so I will be giving you the challenge to create a layout box by yourself. No worries, if you cannot do it, It would be in the repo. Here are some things additional things that would be used:
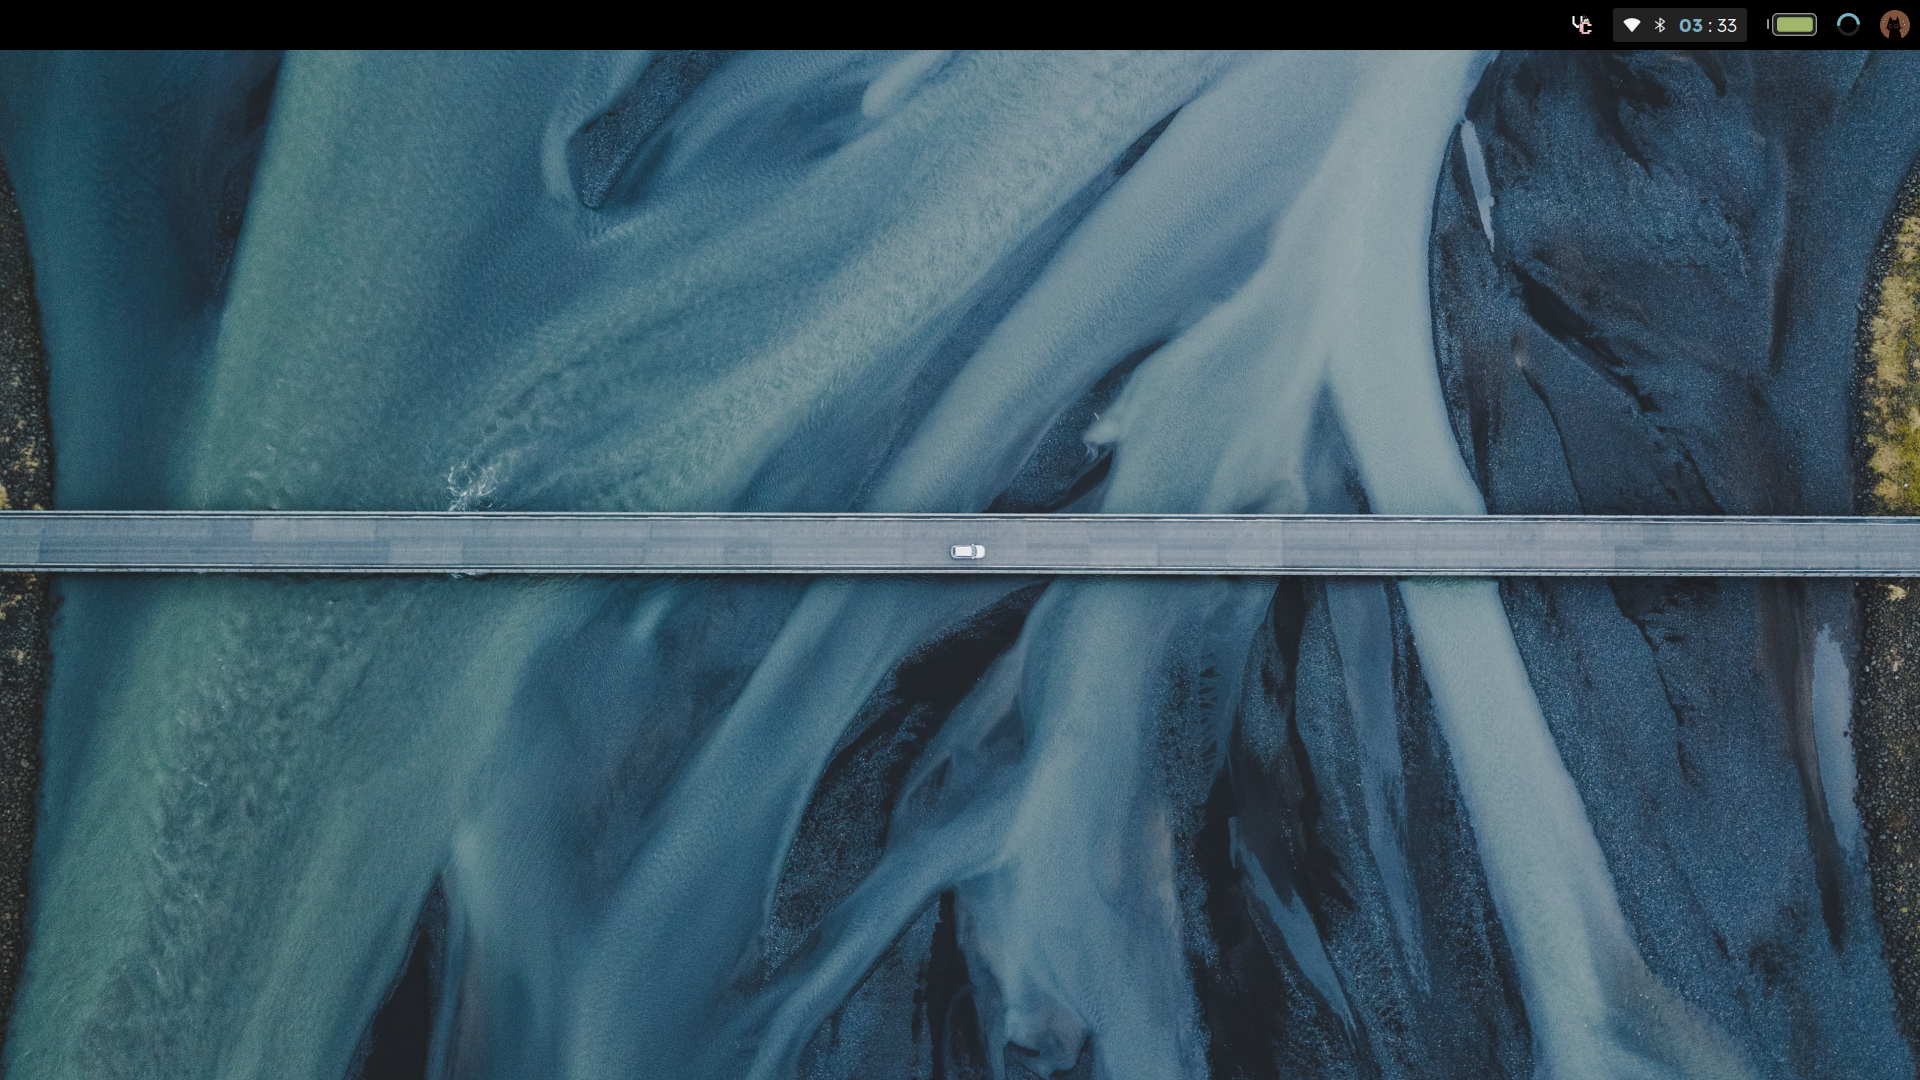
If you successfully did it, we would be left with a bar like this:
Bonus: Titlebars
The titlebars look bad, do let us make them look good and minimal at the same time. But first we will need to download icons. I will once again use phosphor for this, you are allowed to use your own icons. Then we need to add them in our theme.lua
theme.titlebar_close_button_normal              = gears.color.recolor_image(theme.iconpath .. "close.svg",  theme.comment)theme.titlebar_close_button_focus               = gears.color.recolor_image(theme.iconpath .. "close.svg",  theme.red)
theme.titlebar_maximized_button_normal_inactive = gears.color.recolor_image(  theme.iconpath .. "maximize.svg",  theme.comment)theme.titlebar_maximized_button_focus_inactive  = gears.color.recolor_image(  theme.iconpath .. "maximize.svg",  theme.blue)theme.titlebar_maximized_button_normal_active   = gears.color.recolor_image(  theme.iconpath .. "maximize.svg",  theme.comment)theme.titlebar_maximized_button_focus_active    = gears.color.recolor_image(  theme.iconpath .. "maximize.svg",  theme.blue)
Now let us edit modify the existing titlebar in ui/titlebar/normal.lua
local awful = require('awful')local wibox = require('wibox')
--- The titlebar to be used on normal clients.return function(c)  -- Buttons for the titlebar.  local buttons = {    awful.button(nil, 1, function()      c:activate({ context = 'titlebar', action = 'mouse_move' })    end),    awful.button(nil, 3, function()      c:activate({ context = 'titlebar', action = 'mouse_resize' })    end)  }
  -- Draws the client titlebar at the default position (top) and size.  awful.titlebar(c, {size=40}).widget = wibox.widget({    layout = wibox.layout.align.horizontal,    -- Left    {      layout = wibox.layout.fixed.horizontal,      {        awful.titlebar.widget.iconwidget(c),        widget = wibox.container.margin,        margins = 8,      },      buttons = buttons    },    -- Middle    {      layout = wibox.layout.flex.horizontal,      {    -- Title        widget = awful.titlebar.widget.titlewidget(c),        halign = 'center'      },      buttons = buttons    },    nil,    -- Right    {      {        layout = wibox.layout.fixed.horizontal,        spacing = 10,        awful.titlebar.widget.floatingbutton(c),        awful.titlebar.widget.maximizedbutton(c),        awful.titlebar.widget.stickybutton(c),        awful.titlebar.widget.ontopbutton(c),        awful.titlebar.widget.closebutton(c)      },      widget = wibox.container.margin,      margins = 8,    }  })end
Restart the WM and you get some rather good looking titlebars! And your basic tutorial is complete.
This could be a series but these are very time consuming and energy draining tasks. But it could be one series. Thanks for reading this, I hope it made your awesome journey easier.
Credits
- gw for their starter config. (give him a follow, great guy)
- naina_ on unixporn discord from whom this rice is loosely copied.

Namish